TR
TR
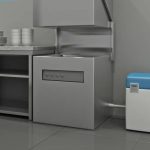
Water dispensers are practical devices used to provide clean drinking water in homes and offices. However, failure to clean water dispensers regularly can lead to the proliferation of bacteria and microorganisms. For this reason, cleaning of water dispensers is of great importance both in terms of health and efficient operation of the device. Water dispenser cleaning, when done with the right methods, extends the life of the device and protects the quality of the water.

Why should the water dispenser be cleaned regularly?
Water dispensers are devices in which water is constantly circulated and stored. Over time, limescale deposits can form due to the minerals contained in drinking water and the taps, water tank and filters can become vulnerable to microorganisms. Without regular cleaning, bacteria and fungi can multiply. This not only reduces the performance of the appliance, but also makes drinking water unhealthy. In addition, limescale and sediment build-up causes the mechanical parts of the appliance to wear out faster.
How often is the water dispenser cleaned?
The frequency of cleaning water dispensers depends on the intensity of use and the hardness of the water. Generally recommended cleaning intervals are as follows:
- Household water dispensers: Cleaning once a month or every two months is recommended.
- Office and intensive use dispensers: Cleaning is recommended every 2-3 weeks.
- Devices requiring filter replacement: According to the filter instructions, the filter should usually be changed every 3-6 months and the appliance should be cleaned at the same time.
These cleaning frequencies ensure a longer life of the water dispenser and help to keep the water hygienic.
Water Dispenser Cleaning Steps
Water dispenser cleaning should be applied meticulously to ensure the hygiene of the device and to maintain the quality of the water. The correct execution of each step both prolongs the life of the device and ensures that the drinking water remains healthy.
Preparation Before Cleaning
Preparations to be made before starting the cleaning process are critical for both safety and cleaning efficiency.
- Switch off the power to the device: Always unplug the dispenser from the mains socket. Electrical parts in contact with water increase the risk of short circuits and electric shock.
- Water draining: All remaining water in the tank must be drained using the tap or the water drain feature of the device. Leaving residual water allows the cleaning solutions to work more effectively.
- Preparation of cleaning materials: Soft cloths, sponges, small brushes, natural cleaning products such as vinegar or lemon juice, gloves and, if necessary, mild disinfectant.
- Dismantling of parts: Removable parts such as the tank, faucet and filter are carefully removed and placed in a suitable area for cleaning. This makes it easier to reach all surfaces during cleaning.
Cleaning the outer surface of the water dispenser
The outer surface becomes soiled during daily use by hands and environmental influences. Regular cleaning not only preserves the appearance of the device but also prevents bacteria from accumulating in the areas that users come into contact with.
- Use a soft cloth or sponge: Hard materials can cause scratches and paint abrasions.
- Wipe with soapy water or mild disinfectant: Stains and fingerprints on the outer surface are easily removed.
- Pay particular attention to areas that are touched: The area around the tap, the water filler and the buttons must be disinfected.
- Rinsing and drying: Clean without soap or cleaning product residue and dry with a dry cloth.
Water Tank Cleaning
The tank is the most critical area of the dispenser and the area where the water is stored can be a favourable environment for the growth of microorganisms.
- The tank is completely emptied: No residue of old water should remain.
- Disinfection with vinegar or lemon juice: Approximately 5-10% vinegar or freshly squeezed lemon juice is poured into the tank and allowed to contact the entire surface of the tank.
- Holding time: It is sufficient to allow the mixture to stand in the tank for about 15-20 minutes; this time reduces the formation of scale and bacteria.
- Brushing: A soft brush can be used to reach the corners and bottom of the tank. Hard brushes can damage the surface of the tank.
- Rinsing Rinse the tank thoroughly with plenty of water and dry with a clean cloth.
Cleaning of taps and water outlets
Taps and outlet points are the most contaminated areas through which water passes. If not cleaned, bacteria accumulation and bad odour may occur.
- Removable parts are removed: The faucet head and valve parts are removed and cleaned one by one.
- It is washed with hot soapy water or disinfectant: The inner and outer surfaces of the faucet are cleaned in detail.
- Small brushes are used: Brush off deposits and limescale deposits in narrow and hard-to-reach areas.
- Rinsing: Faucet parts must be thoroughly rinsed and then installed in place.
Lime and Bad Odour Removal Methods
Limescale build-up and bad odours reduce the performance of the appliance and affect the taste of the water.
- Use of vinegar or lemon juice: Soften limescale deposits by applying to tanks, taps and other water contact points.
- Mechanical cleaning with brush: Limescale deposits are removed with a soft brush instead of a hard brush.
- Deodorising with baking soda: A mixture of 1 tablespoon of baking soda and water can be left in tanks and taps for 5-10 minutes and then rinsed.
- Rinse with plenty of water: All cleaning products must be rinsed thoroughly after cleaning. Otherwise the taste of the water may change.
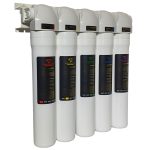
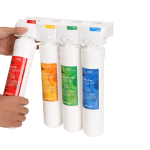
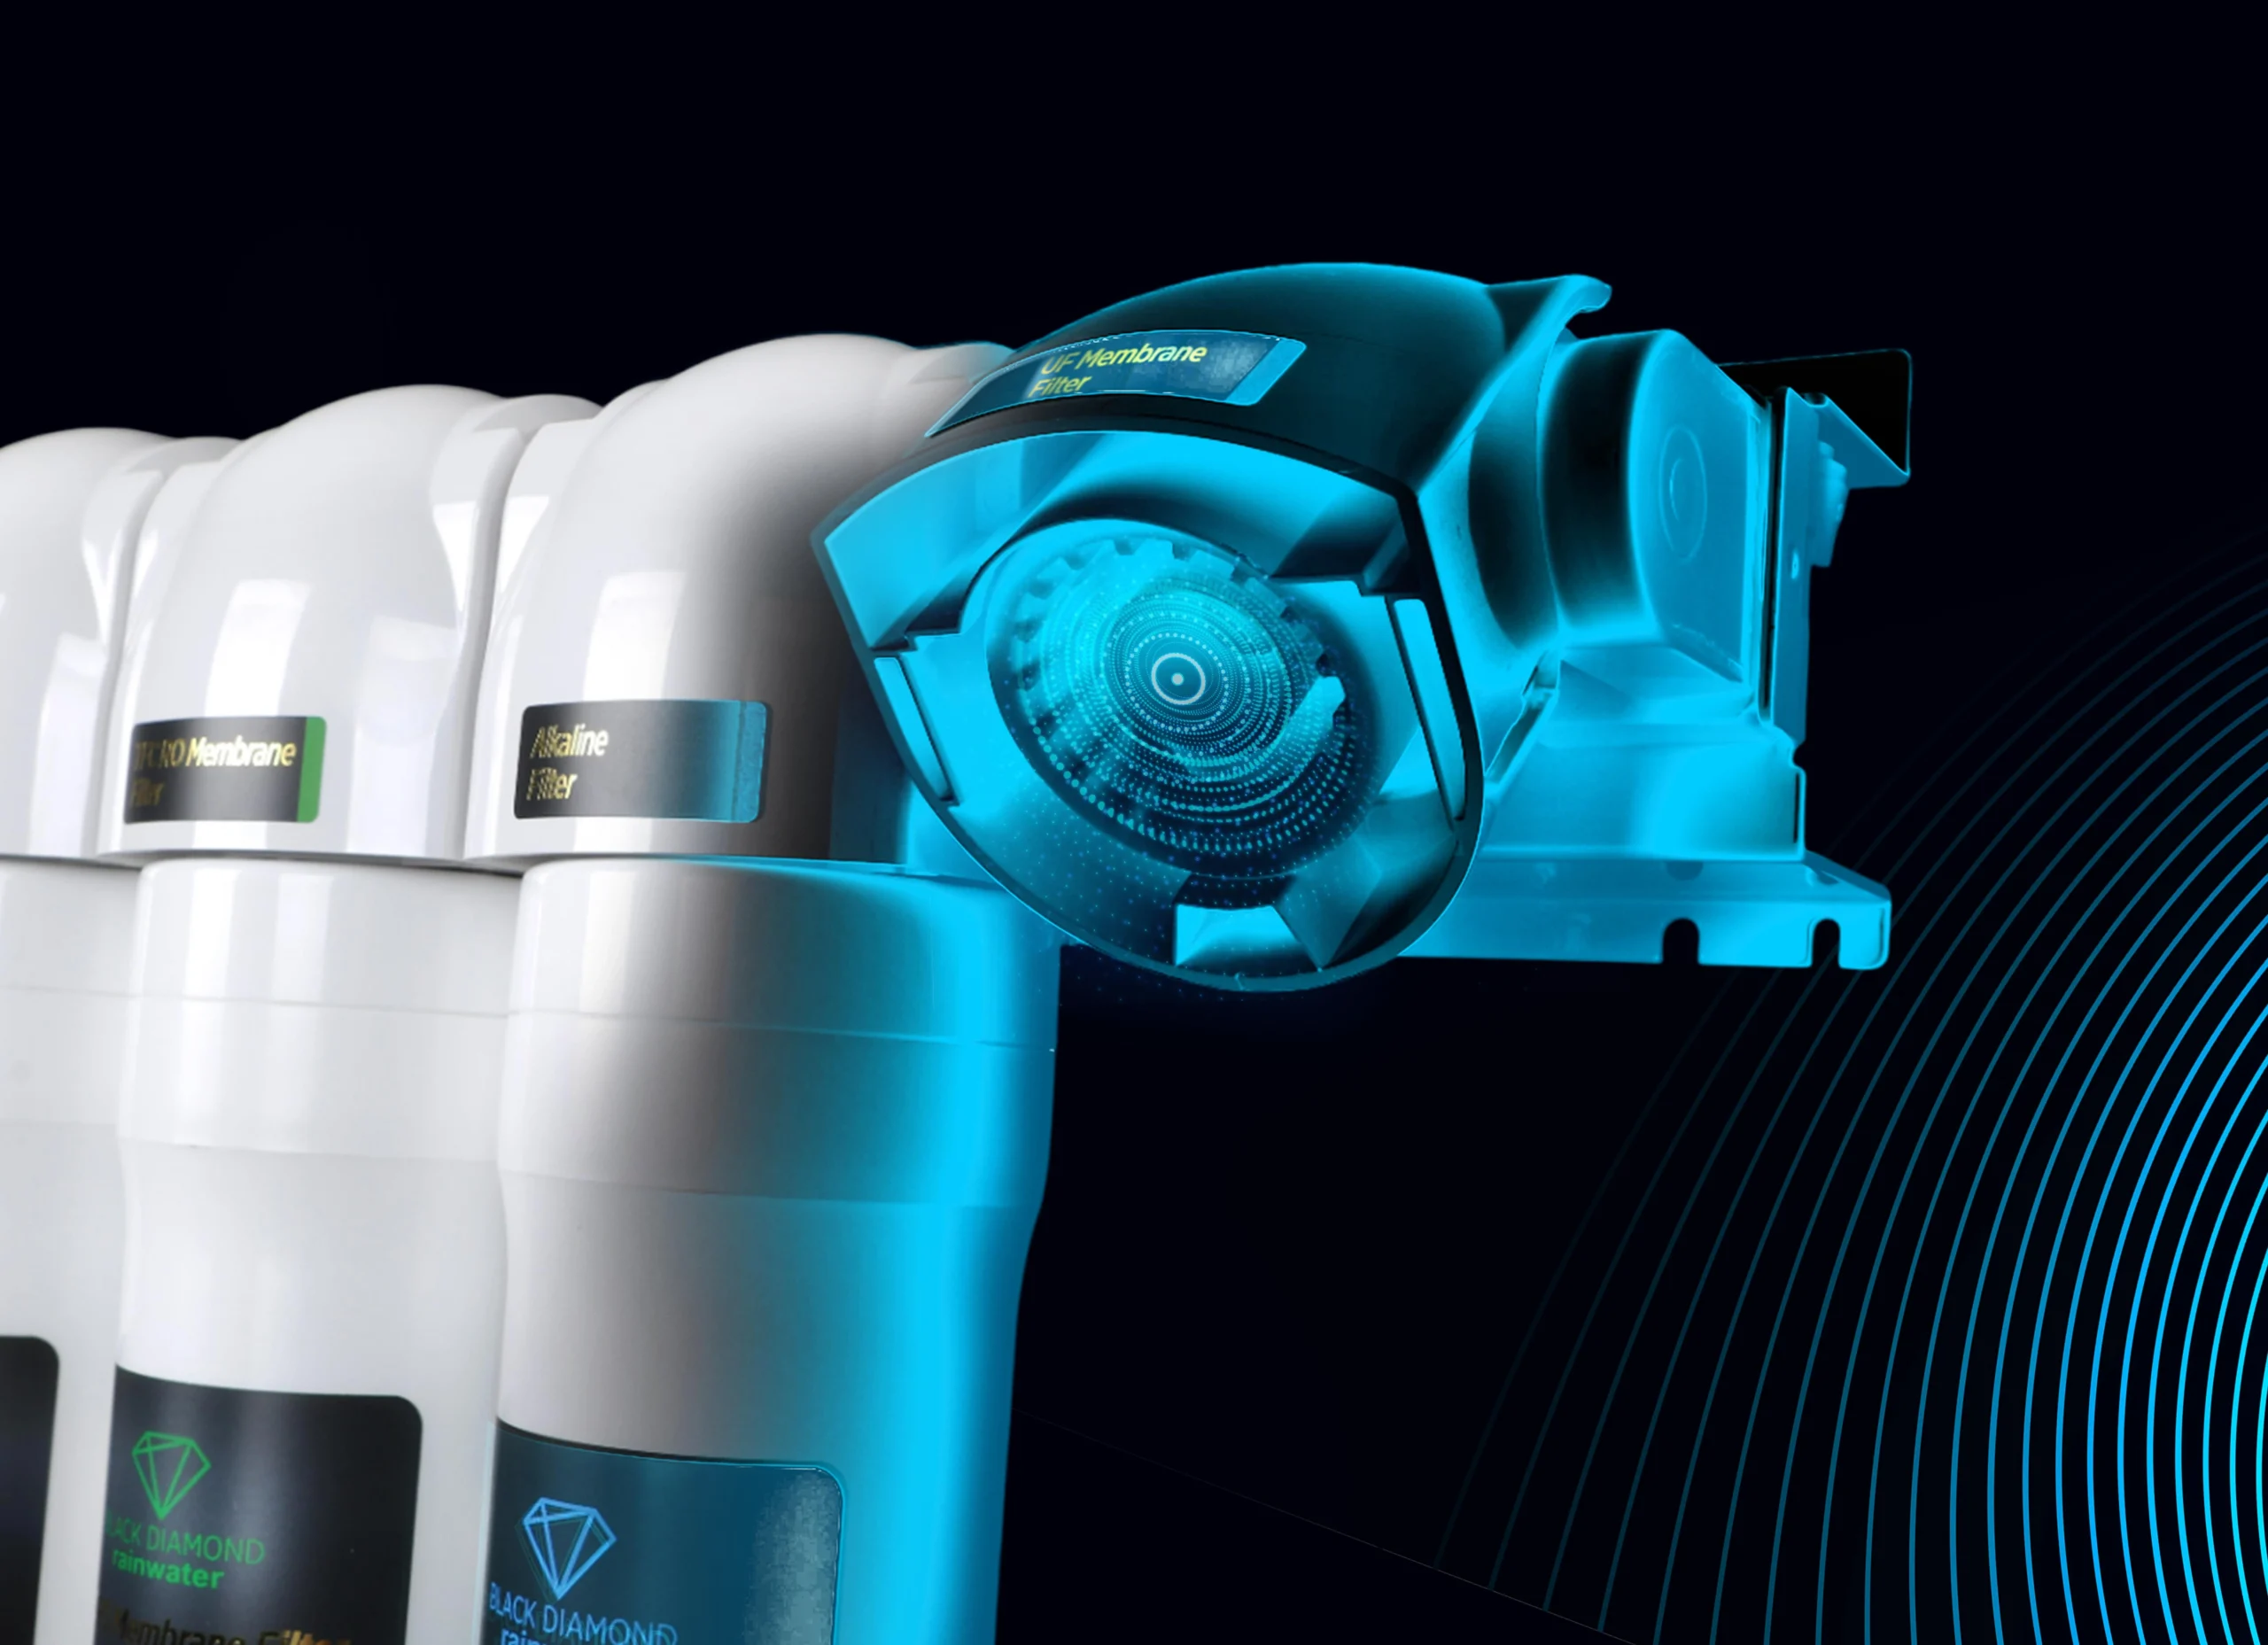
Filter Cleaning
Filters are the most critical components that keep water clean and healthy.
- The filter is removed: The filter must be carefully removed for cleaning or replacement.
- Washing under water: Washable filters are cleaned under running water.
- Filters requiring replacement: Disposable filters must be replaced at the time specified by the manufacturer.
- The clean filter is reinstalled: Correctly reinstalling the filter maintains the flow and quality of the water.
Reassembly
After all cleaning operations have been completed, the parts must be assembled correctly.
- The tank, tap and filter are installed: Check that the parts are fully seated.
- The appliance is filled with water: The dispenser is filled with water to completely rinse off the products left over from cleaning.
- It is switched on for a short time: Water is circulated through all areas of the device and checked for any leaks or installation errors.
- Ready for use: The device is put into operation after making sure that all parts are correctly assembled and clean.
How to Clean Water Dispenser with Ozonation?
Ozonation is a modern method used in the disinfection of water dispensers. Since ozone is a strong oxidant, it effectively destroys bacteria, viruses and fungi. For the ozonation process, the ozone generator is connected to the water circuit of the device and operated for a certain period of time. This method provides cleaning without using chemicals and does not affect the taste of water. It is especially preferred in office and intensively used water dispensers.
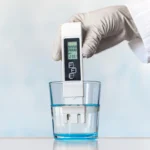
How to tell if the water dispenser is dirty?
Water dispensers start to get dirty without regular maintenance and cleaning, and this situation manifests itself with various symptoms. Firstly, changes in the appearance of the water can be noticed. Water that should be clean and clear may become cloudy or small particles of sediment may be observed. This should be considered as a sign of lime and dirt accumulated in the tank or filter.
Another indicator of pollution is the odour of the water coming from the dispenser. An unpleasant odour in normally odourless drinking water indicates the accumulation of bacteria and microorganisms. The odour is usually caused by microorganisms accumulating in tanks or taps that have not been cleaned for a long time and indicates that the water is not hygienic.
Changes in water flavour are also an important sign of contamination. If the drinking water has lost its normal taste and has a slightly bitter or metallic taste, this indicates that the tank or filters are covered with lime and sediment, as well as the accumulation of microorganisms.
The faucet and water outlet points are also observable areas to recognise contamination. White sediment or limescale deposits around the tap or in the outlet hole indicate that the appliance has not been cleaned regularly.
In addition, a decrease in filter performance is also an indication that the dispenser is contaminated. A slower than normal water flow or a feeling of strain on the filter indicates that the filter is clogged or that deposits have formed on it. The filter should then either be cleaned or replaced.